

Install Wordpress on Bluehost Manually - 2021 Edition
How Long Does it Take to Install WordPress on Bluehost (2021)
Want to Create aBlog WordPress?
This is a complete beginner’s guide that will help you start your blog and also check out the bottom section to learn how to use WordPress.
All of these pieces of information are free and feel free to take action and build something new.
- Part 1: WordPress.com vs WordPress.org: Everything You Need to Know
- Part 2: How to Buy Hosting for Your WordPress Blog
- Part 3: << You are here >>
- Part 4: Essential Settings After Installing WordPress
- Part 5 : how one install WordPress plugin
- Part 6: a WordPress theme no WordPress theme
- Part 7: installing
- Share 8:14 tips to secure your WordPress website
- Part 9: Pro techniques WordPress accelerate and load times to Shorten
This guide is for newbies to learn how to install WordPress on Bluehost hosting. I have shared the exact steps to create your blog with WordPress.
I’ve used Bluehost for my sites and my clients’ sites, and what I like about them is that they don’t overdo themselves.
They’re simple, they innovate new things to make WordPress administration easier, and they’re one of the best.
Many of you may not know that Bluehost is one of the officially recommended hosts by WordPress, which is a big deal.
One thing I like about Bluehost is that they have scaled their server for optimal performance when running WordPress.
They offer unlimited bandwidth, unlimited storage, premium support, and everything else you could need to run a successful WordPress blog. Recently, Bluehost made some significant improvements to WordPress management, including that you can use free SSL,WordPress install automatically, and they’ve made WordPress more secure on their server.
Sign Up Now For Bluehost Hosting Reduced
Price With A Free Domain
Read Also:
- What are The Most Popular Types of Blogs– 2021 Edition - Blog Traffic Booster (No.1 Blog)
- Best Bluehost Coupon Code - 2021 Edition - Blog Traffic Booster (No.1 Blog)
- Compare Bluehost vs Siteground - 2021 Edition - Blog Traffic Booster (No.1 Blog)
Guide Complete Guide to Creating a WordPress Blog on Bluehost
Self-hosted WordPress platform is one of the best platforms to start blogging and make money.
We’ve already shared a complete guide on how to start a new blog refer, and you can’t use that guide to get started.

So why Bluehost?
Bluehost offers standard cPanel hosting, which comes with Fantastico. Fantastico is one of the easiest ways to install WordPress, or you can use the manual WordPress installation method. However, I would recommend using Fantastico as it is very easy and effective.
If you’re still struggling to decide if Bluehost is right for you, then I recommend that you just go for it. It is important that every WordPress web host meets certain technical requirements, and Bluehost fulfills these needs perfectly. It can handle any site with low to medium traffic with ease. That said, I always recommend using a WordPress cache plugin when using shared / VPS hosting.
Assuming you already have a Bluehost account (if you don’t, you can get one here) then you are ready to move on with this tutorial.
Bluehost has completely overhauled their web hosting and made it WordPress-oriented. Unlike in the past when you had to manually create your blog, nowadays Bluehost automatically installs and configures WordPress for you. If you followed the guide above and simply bought a hosting + free domain name from Bluehost, WordPress will be installed for you automatically.
This can take anywhere from 5 to 50 minutes. If you see a screen like this
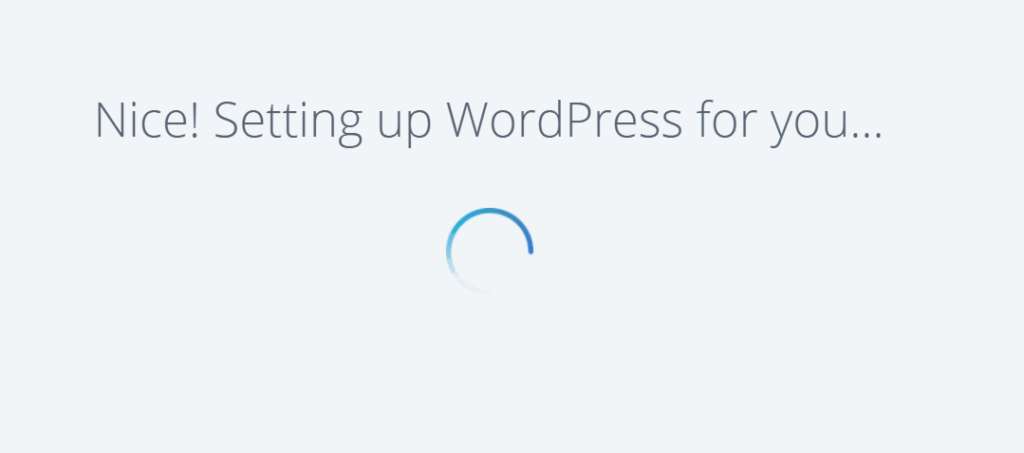
and you are stuck, log into your Bluehost dashboard. This is what the new Bluehost Dashboard will look like in 2019:

click Login to WordPress to automatically log in to your WordPress Blog dashboard.
I’ll make a few videos to help you understand the whole process. For now, this will help you get started with WordPress on Bluehost hosting.
Install WordPress manually on Bluehost: For
for some reason you have deleted your existing WordPress installation or want to install WordPress on a new domain (Addon domain), you can follow the mentioned steps to do it.
- Log in to your Bluehost Hosting Dashboard
- Click Marketplace

- Click Add Website
- Enter Details
Click Next and select the domain you want to install WordPress on.

Click next and WordPress will be installed on your selected domain in 5 minutes.
That is it!
Create your WordPress blog on Bluehost
(get a free domain name)
Here is a video tutorial showing you the exact process of installing WordPress on Bluehost:
Things to do after installing WordPress on Bluehost:
Once WordPress is installed (on any host), there are a few things you should always do.
This brings us to the next lesson in our series:
Part 4: Essential Things To Do After Installing WordPress
Let me know if you get stuck anywhere in the process. And let me know what you think about Bluehost. Share your thoughts and experiences in the comments below!
In the next section, you will learn how to install WordPress manually. You may only need this in a particular scenario and on specific hosting. Either way, knowing when the automatic installation fails and you want to install WordPress without any automated software is helpful.
How to Install WordPress Manually
We need some handy things before we start the process. So here’s the list of things to be prepared with.
- WordPress Software: Download the latest version of WordPress from the official download page.
- FTP access to your hosting account
- cPanel access to create a Database and DB user and password.
- So I assume that you have everything ready and that you have also downloaded WordPress.
Make Database and Database:
UserI believe that for non-technical users, this step is the only step that will leave you a little confused. So follow this step-by-step guide and screenshot and create your first DB and attach username and password to it.
This is a setting that we need to change to Wp-config later in this manual installation guide for WordPress.

Almost all hosting with cPanel offers MySQL database wizard, which makes it easier. Login to your cPanel and click on MySQLWizard Database Under Database, and create a database.

Complete the next step and provide a username and password for your newly created database. My suggestion, use the password generator there to create a strong and complex password.

Once you click, the next step is to give the users privileges. On the next page, click on all permissions for a newly created user and click on the next step.

User That’s all and you have created a database and username for your new WordPress installation.
Make sure to write down all the details: DB name, DB username and DB password in a notebook as we will need it in the next step.
Full WordPress Manual Installation Guide:
So I assume we’re ready to move on. From here we can take 2-3 different steps to proceed with manual installation of WordPress.
You can extract the .zip file directly and edit the wp-config file as shown below and upload the entire WordPress folder to the root of your domain (Public_html), or you can use cPanel file manager to edit the contents of the wp-config file and edit it.
Anyway, the only step we need here is to change the wp-config content and upload it to the appropriate folder on your FTP. You can use a free FTP client such as FileZilla for this.
But to keep this tutorial simple I’ll be using a Web hosting cPanel.
Upload WordPress to your cPanel:
Now go under your cPanel to the file manager and upload the WordPress zip file you downloaded. Once you’ve uploaded the WordPress.zip file, click extract and extract everything into the public_html folder. (Note: It should be the first WordPress installation on your cPanel).
If it is an add-on domain, extract the files to the directory you specified to add to the domain. Usually public_html / addon domain name.
To make this step easy, I extract everything into the public_html folder.
Under your cPanel hosting, you can go to Files> File Manager and browse to the public_html folder and upload the WordPress.zip file.

Usually the file extractor will create a folder name “WordPress” and extract all files under it.
Since we are running the installation on the main domain, (www.domain.com) and not (www.domain.com/WordPress), we will move all files directly under / public_html director using the move command.
Browse again to / public_html / WordPress with file manager, select all files and click move at the top and move all files to public_html.
Editing WordPress wp-config file:
The next step is to fill in the database information in the wp-config file. You can make a copy of wp-config-sample.php and rename it to wp-config.php. Now select wp-config.php and click edit:

In this file, here are a few things you need to change:
// ** MySQL Settings – You can get this information from your web host ** //
/ * * The name from the database for WordPress * /
define (‘DB_NAME’, ‘database_name_here’);
/ ** MySQL database username * /
define (‘DB_USER’, ‘username_here’);
/ ** MySQL database password * /
define (‘DB_PASSWORD’, ‘password_here’);
/ ** MySQL Host* /
define (Name’DB_HOST’, ‘localhost’);
Now replace database_name_here, username_here, password_here with the details we created in step 1.
Db_host usually remains Localhost in most shared hosting such as Bluehost, Dreamhost and HostGator. Once you’ve added this information, click save changes.
Running WordPress Manual Install Script:
So far we have done all the basic settings we need to install WordPress manually.
Now all we have to do is run the WordPress installation script, give a user and password to your wp admin and do some basic settings. Here’s the last thing you need to do to get your WordPress blog up and running:
Go to this URL:
http://domain.com/wp-admin/install.php
(replace domain.com with your actual domain name here).
First select the language of the WordPress installation:


on the next screen, provide a username and password for your WordPress installation.
Try to avoid specifying admin as the username and use a complex password. Once everything is set up, you can log into your admin dashboard by going to the following link. Replace domain.com with the actual domain name:
http://domain.com/wp-admin
Now, here are some of the standard features and the steps to follow to proceed with it:
- 8 Essential Settings After Installing WordPress
- How to Install WordPressInstall WordPress
- Theme
- PluginBasic WordPress plugins for any WordPress blog
and don’t forget to bookmark our WordPress guide, which will give you all the basic guides you need to use WordPress.


No comments: